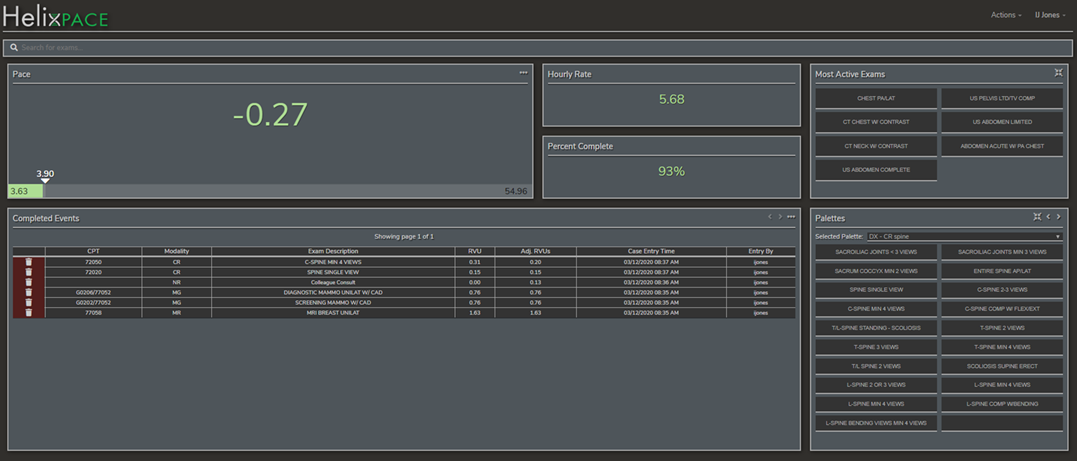
Once logged in, you will be brought to the main dashboard.
Submit NI Event
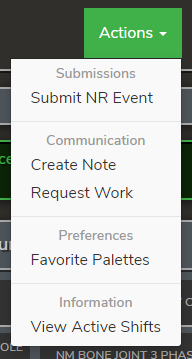
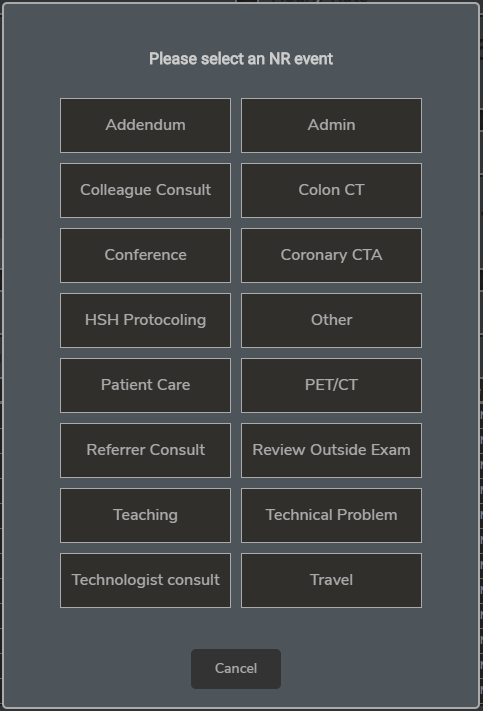
Go to the Actions drop down menu and select Submit NI Event.
Choose event from the list. You will be prompted to enter a duration (the 15 minute quick buttons can be used or a time can be entered manually)
and description is required. (Note: if the duration of the NI Event exceeds the elapsed time since the last exam or event was entered,
you will be prompted to enter a shorter duration) Click Submit when finished.

Create a Note
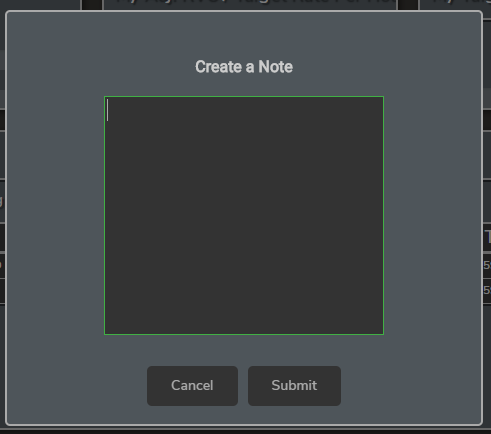
Go to the Actions drop down menu and select Create Note. Type note and click submit.
Request Work
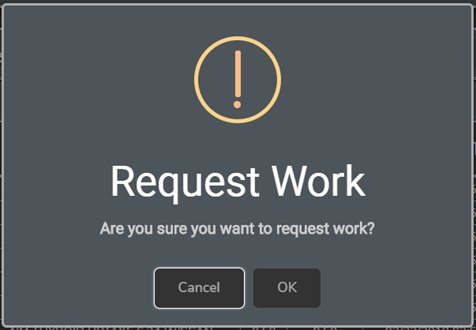
Go to the Actions drop down menu and select Request Work. A pop up window will appear asking if you are sure. Select OK.
Favorite Palettes
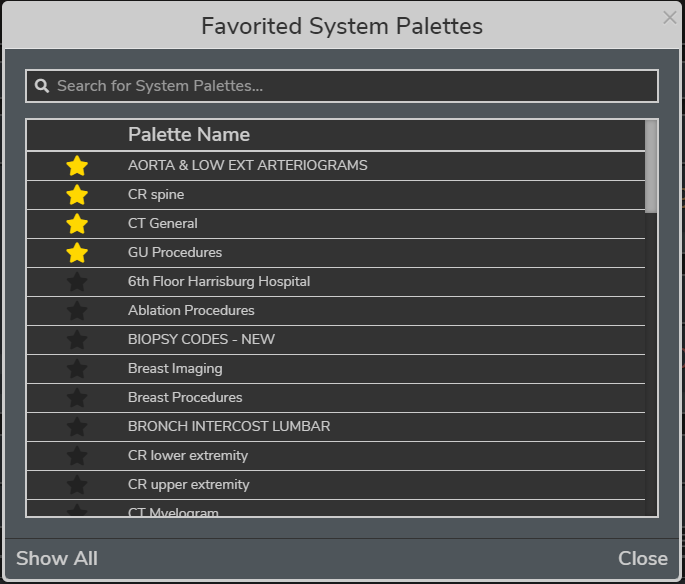
You can choose the Show All button to browse through all available palettes or search key words in the search box. Clicking on the star to the left of the palette turns it yellow and designates it as a favorite palette.
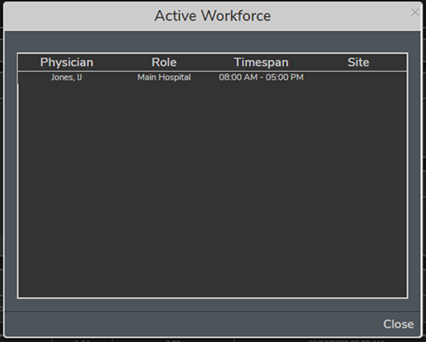
View Active Workforce
Displays a list of all logged in users that define the current workforce.
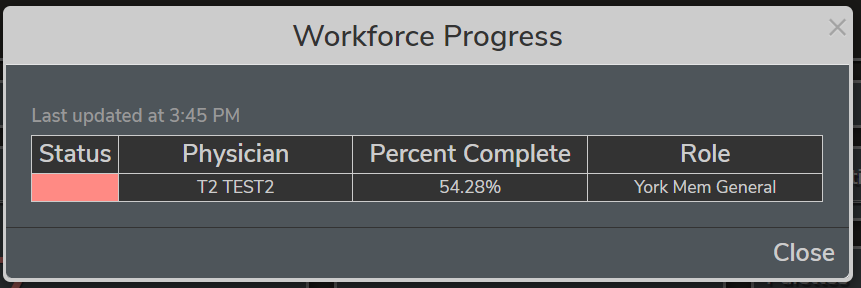
View Workforce Progress
Displays a list of all logged in users and their progress during the elapsed time for the role.
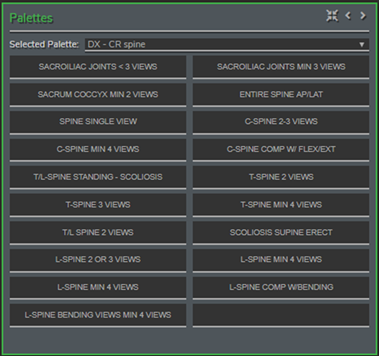
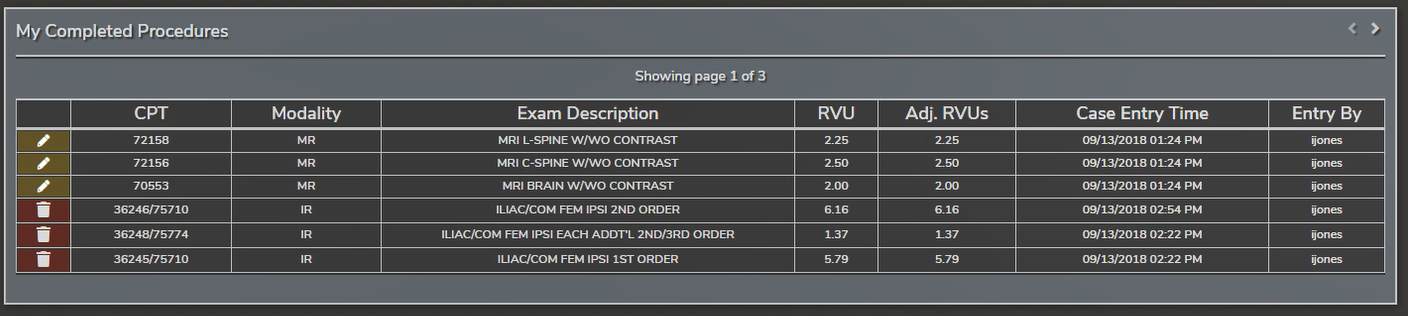
Choose the palette you wish to work from. Clicking on an exam in the palette will add to the completed exams section
and the wRVU will be updated. To remove a completed exam, click on the red backed trashcan icon beside the given exam.

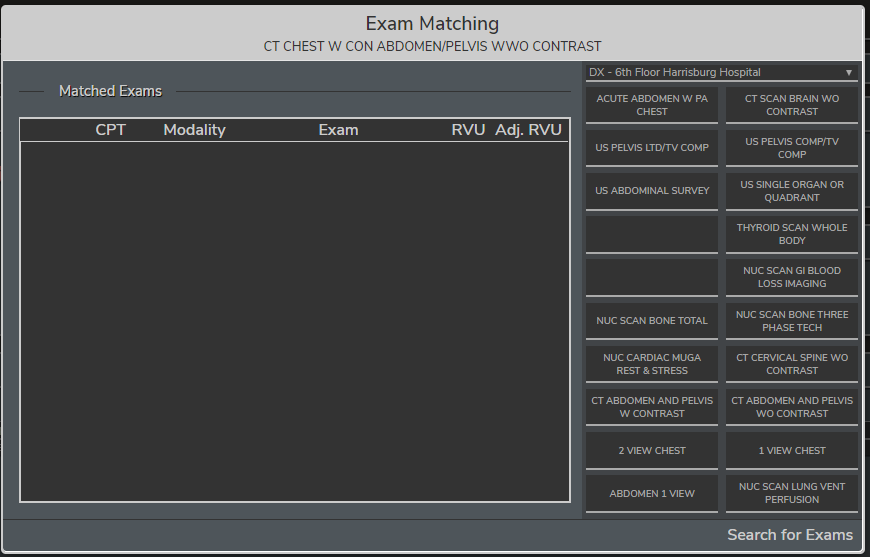
To choose a single exam not contained in a palette, click in the search bar at the top of the page with the magnifying glass in it.
This will open a search panel in which you can use the quick buttons to search by modality or you can manually type in the search
box three or more characters and hit enter. Selecting the “x” in any search criteria will remove it.
If no procedure is selected, click on Back to Dashboard at the top of page to return to the main dashboard.

Choose event from the list. You will be prompted to enter a duration
(the 15 minute quick buttons can be used or a time can be entered manually) and description is required.
(Note: if the duration of the NI Event exceeds the elapsed time since the last exam or event was entered,
you will be prompted to enter a shorter duration) Click Submit when finished.
Return to top
When the program is integrated, it will automatically log completed exams via HL7 messages
received once the study is signed. Integrated procedures are denoted by a small pencil next to the CPT code.
If an exam comes over that is not already linked to a code, the physician will be prompted
to match the exam in a pop up box. The exam can be edited by clicking on the small pencil.
Only NI Events and notes will need to be entered manually with the integrated program.
Return to top
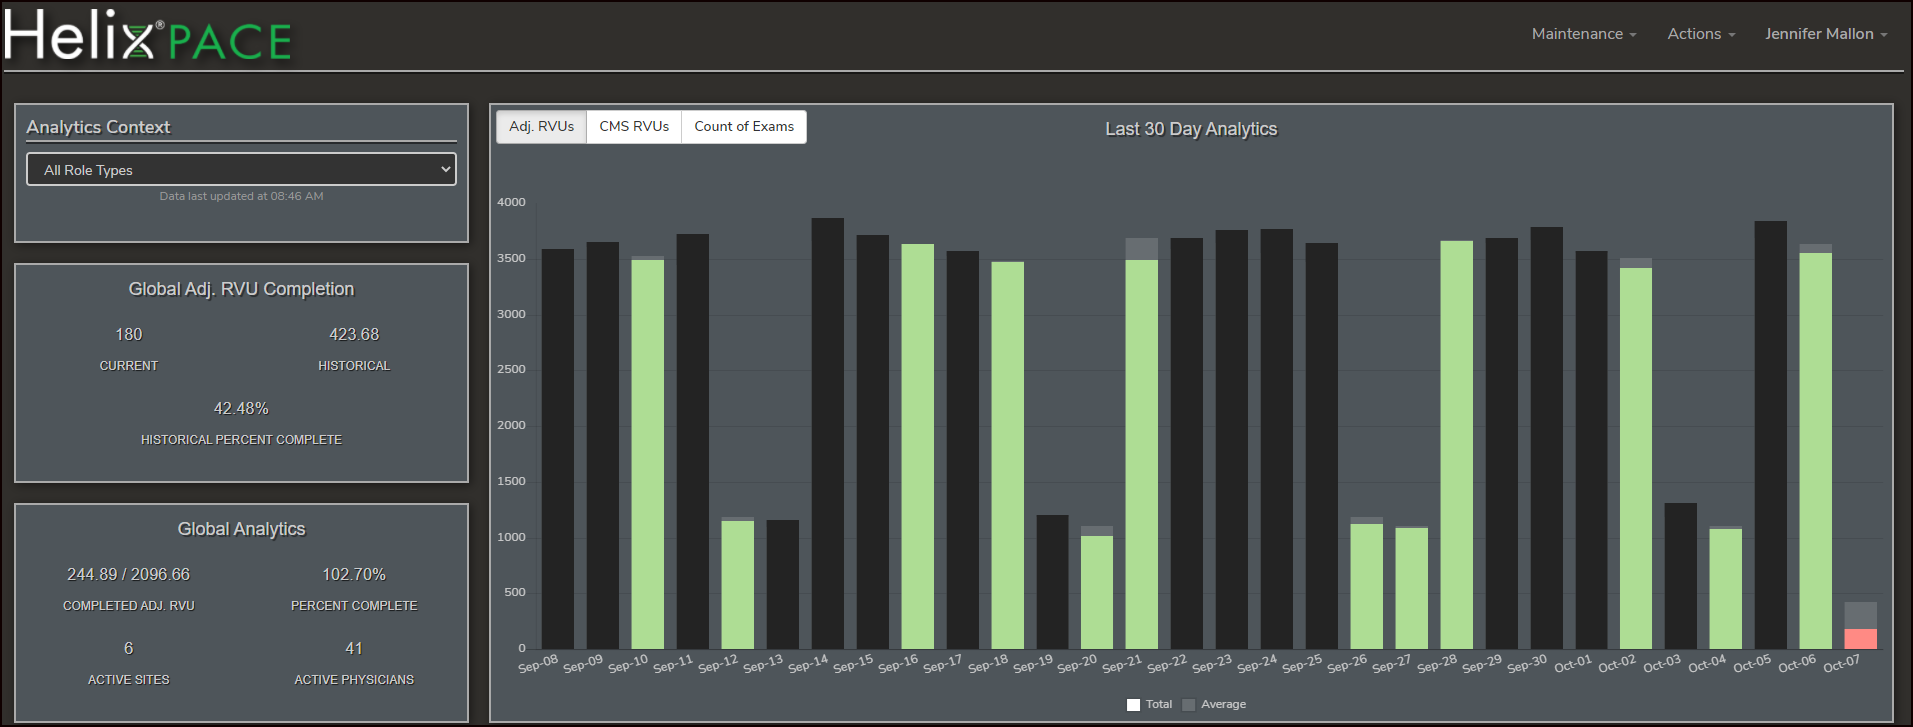
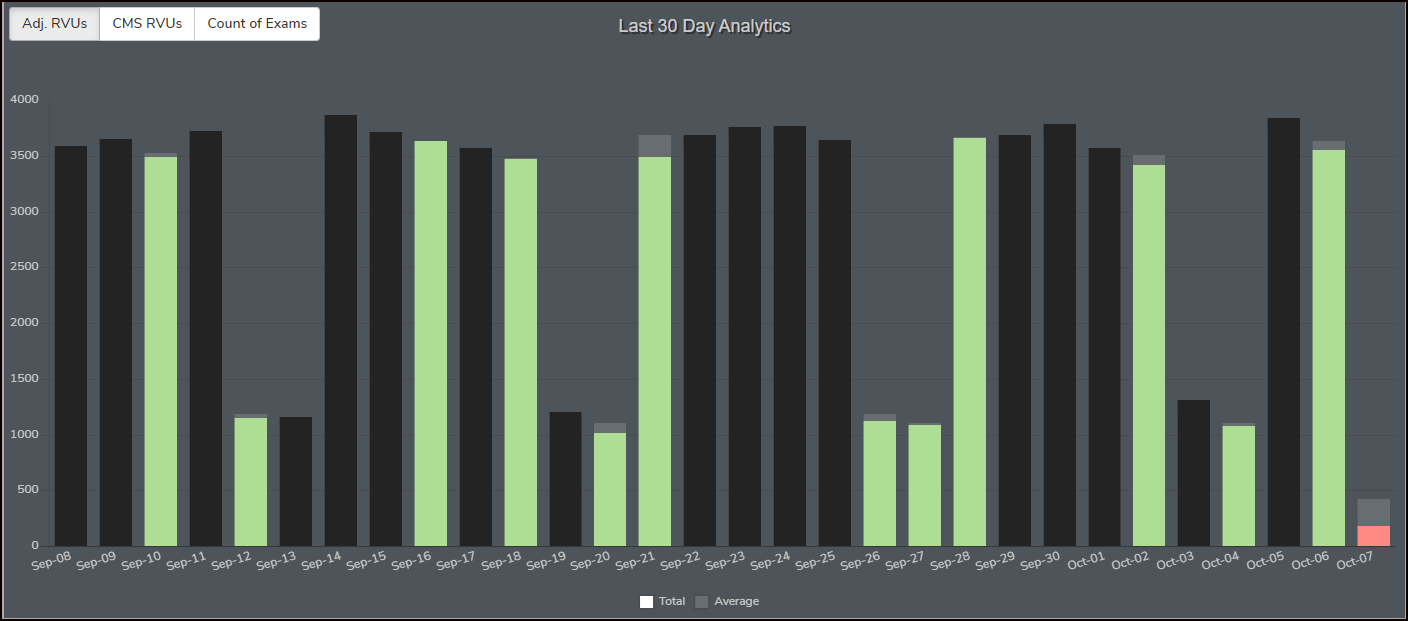
The data displayed in the Global wRVU (adj) Completion and the Last 30 Day Analytics widget will be
filtered to include data for the selected role type(s) in the Analytics Context dropdown list.
Users can select a single specific role to view or they can choose to view all Role Types.
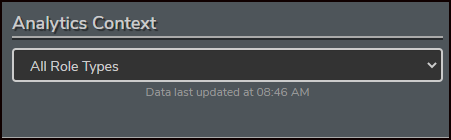 Last 30 Days Analytics Widget
The default view of the Last 30 Day analytics widget shows the previous 30 days completed wRVU (adj) with the historical average completed wRVU (adj).
• The historical data is compiled for the previous 8 weeks by day
• If the current day is a Monday, the Historical average will use the previous 8 Mondays (unless one is a holiday) to calculate the average
The bars will be color coded based on the percentage of average history completed.
• For example, if the completed wRVU (adj) is Between 90 and 100% of the historical average wRVU, the day bar will be green and if the completed wRVU (adj) surpasses the historical average, the bar will be black
The default view of the Last 30 Day Analytics widget is wRVU (adj).
Users can switch to view the chart with a Count of completed Exams or wRVU by clicking the corresponding button in the upper left corner of the graph.
Hovering over a bar will display a total wRVU (adj)/Total wRVU/Count of Exams completed, a breakout by modality and the average historical wRVU (adj)/wRVU/Count of Exams.
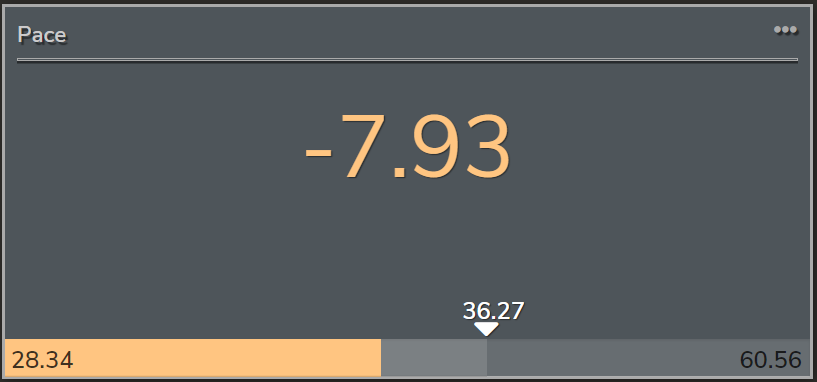
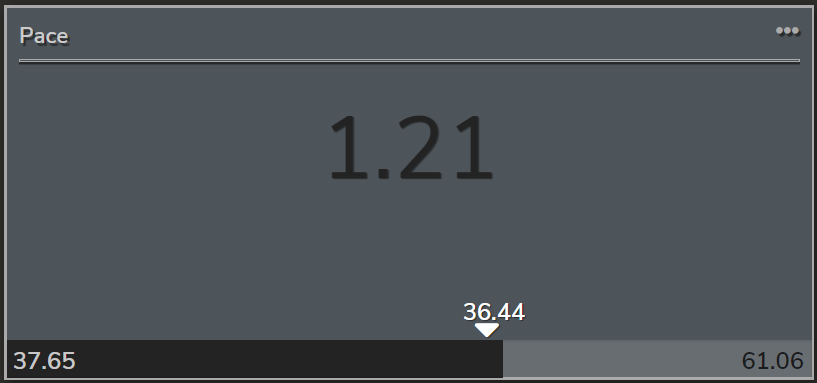
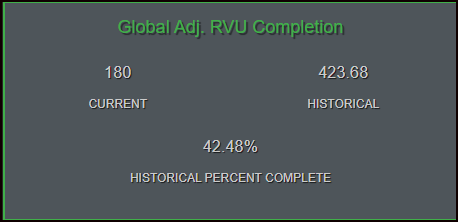
 Global wRVU (adj) Completion Widget
The Global wRVU (adj) Completion widget shows a view of data based on the Analytics Context selection, meaning data across all users logged into a role for the selected role or all roles.
Users are able to change the data displayed to a specific role type by selected from the drop down list.
• The Current value is a sum of all completed wRVU (adj) across roles based on the Analytics Context selection
• The Historical value shows an average wRVU (adj) completed, using the previous 8 days of the week, using the same logic as the 30-day graph
• The Historical Percent Complete shows the percentage currently completed of the historical value (Current / Historical)
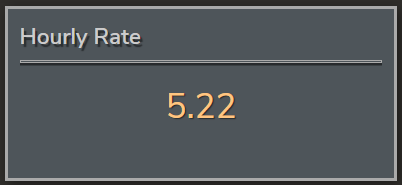
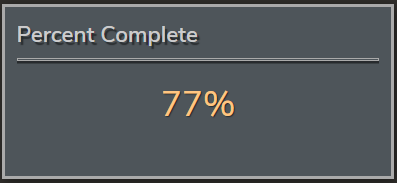
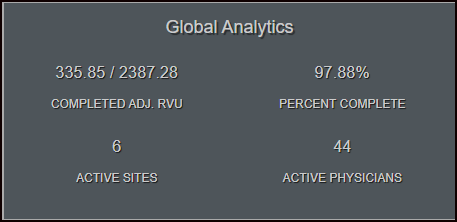
 Global Analytics Widget
The Global Analytics widget shows data across all users logged into a role for the practice.
This widget does not change with the selection of a specific role from the Analytics Context dropdown.
• The Completed wRVU (adj) value is a sum of all completed wRVU (adj) across all logged in roles shown with the target wRVU (adj) for all logged in roles
• The Percentage Complete value shows the average percent complete for each logged in role
• The number of active sites and the number of active physicians is also displayed
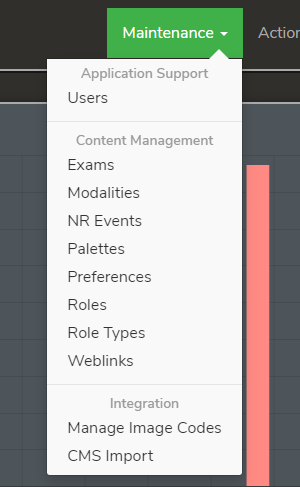
Exams, Modalities, NI Events, Palettes,
Preferences, Roles, and Role Types can be created and edited
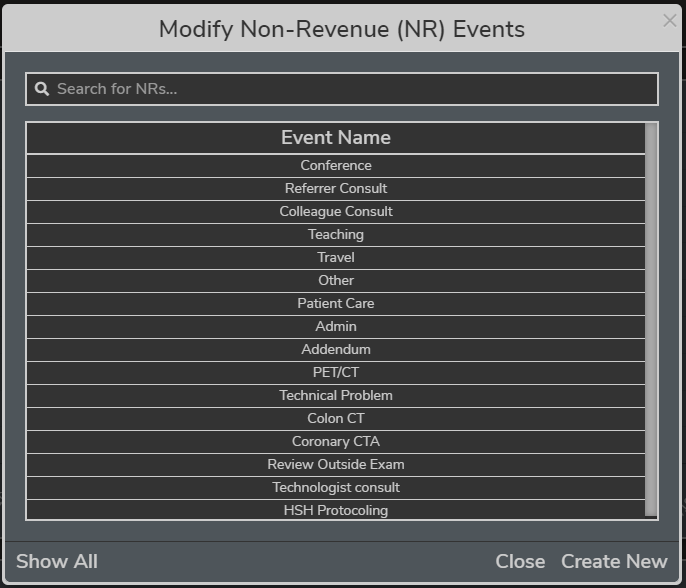
by choosing the option from the Maintenance drop down menu under Content Management. Double clicking
on an existing content item will bring you into the editing screen and choosing the Create New button
allows new entries to be made.
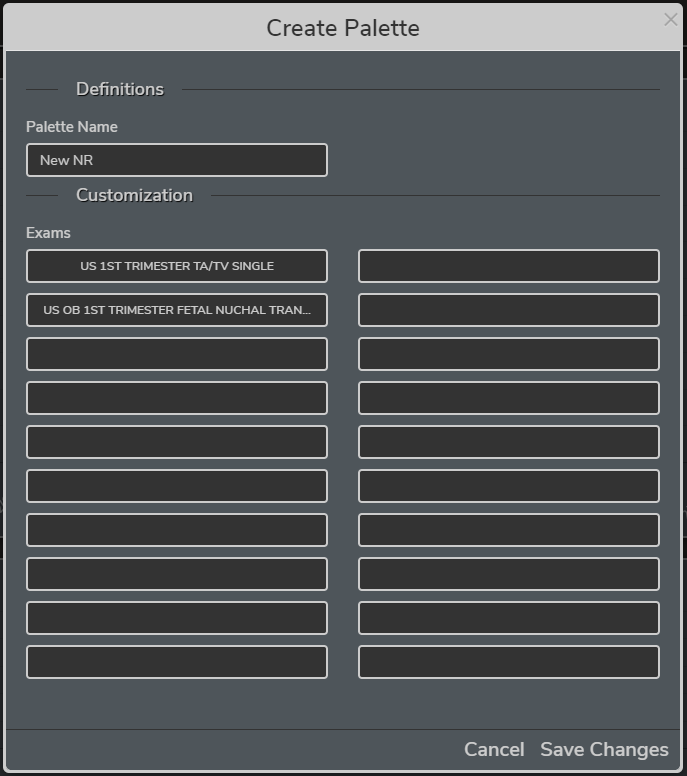
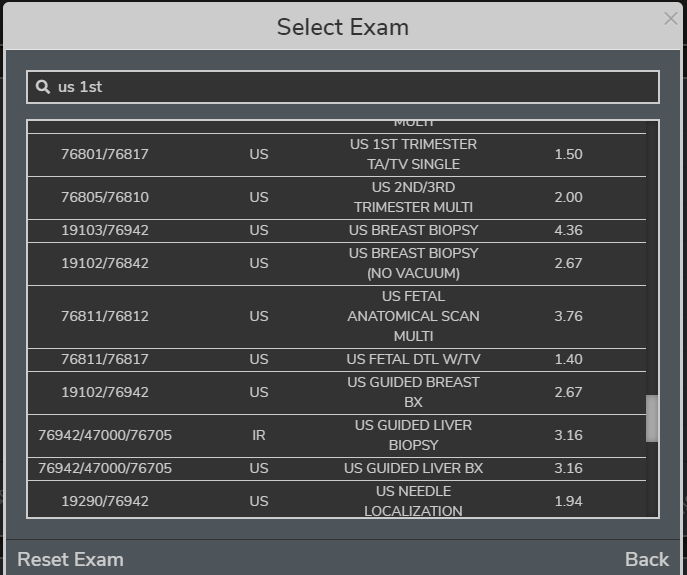
When editing or creating new palettes, open slots can be clicked on and new exams selected.
he exams can be dragged and dropped in any order within the palette. To remove an exam, click
on it and choose reset exam in the lower left corner of the selection box. Save changes when done.
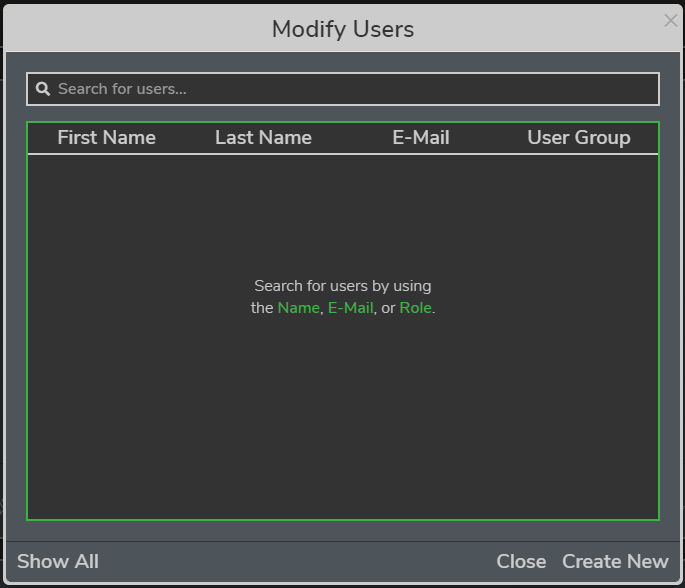
User Management is accessed by clicking the Users option on the Maintenance menu. The first step in User Management is to select a user.
The Show All link can be used to populate all users or a specific user can be searched for using the search bar at the top.
Selecting Create New will allow you to enter a new user.
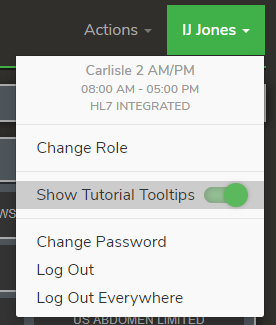
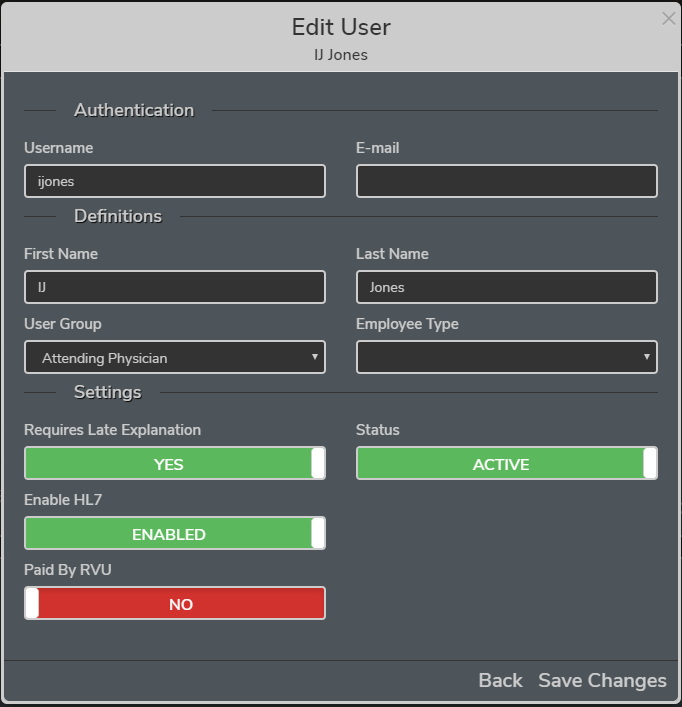
User accounts can be edited and passwords changed through the User Management
section in the Maintenance drop down menu.
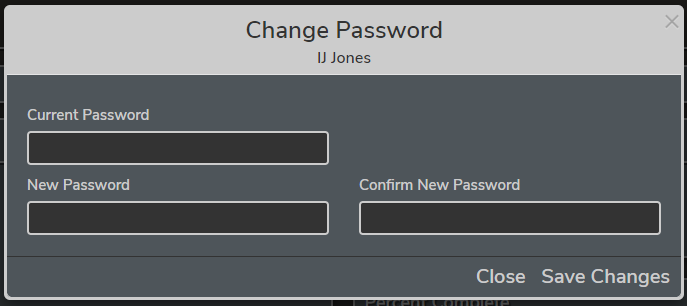
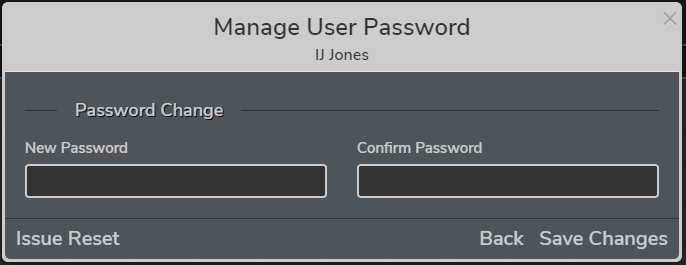
Admin users can reset passwords for a user by entering the new password and confirming it and clicking Save Changes.
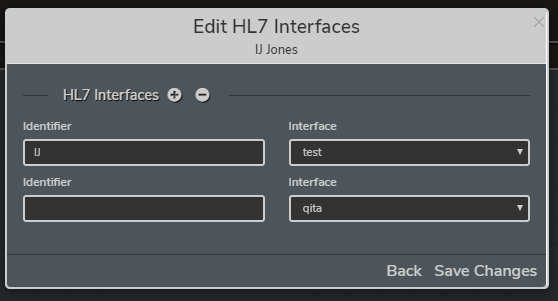
Under the maintenance menu, select Users. Find and select a user. In the Manage User pop up, select HL7 Interfaces.
Existing interfaces can be created, deleted, or edited. The “+” adds a new blank interfaces and the “-“ removes the
last interface on the list. *note, you must select “Save Changes” to apply changes.
Under the maintenance menu, select Users. Find and select a user. In the Manage User pop up, select
“Transfer Completed Events.” Choose the role to transfer from and role to transfer to (choose by date and role name).
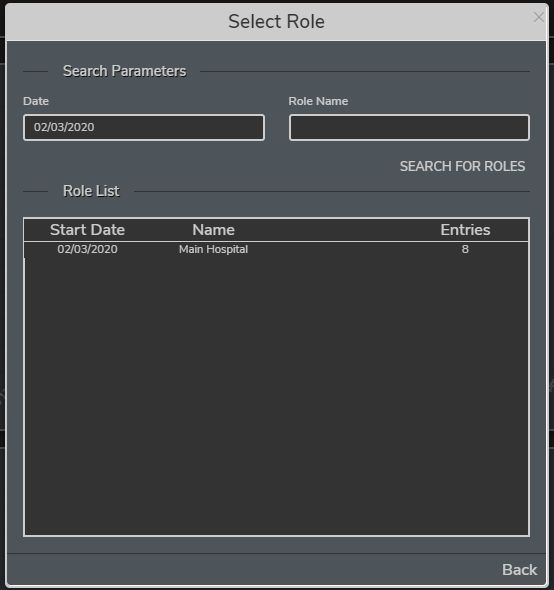
Once the roles are selected, highlight the events that you want transferred and select “Transfer Events.”
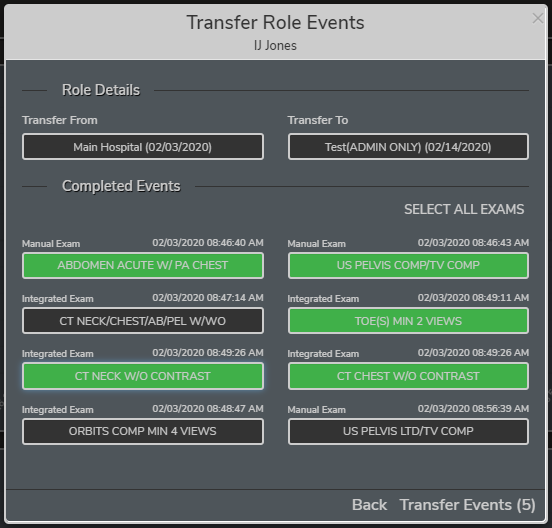
To delete Events from a role, Choose the role, highlight the events you want to delete and select “Delete Events.”
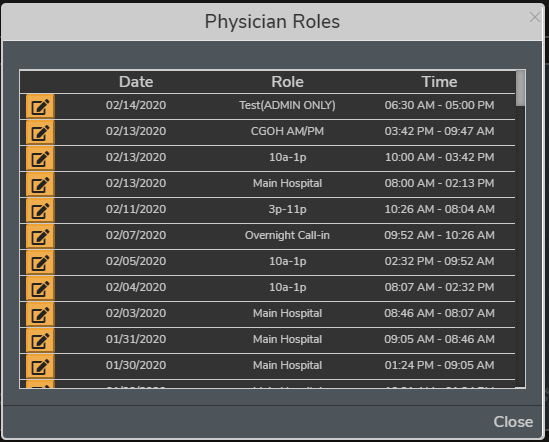
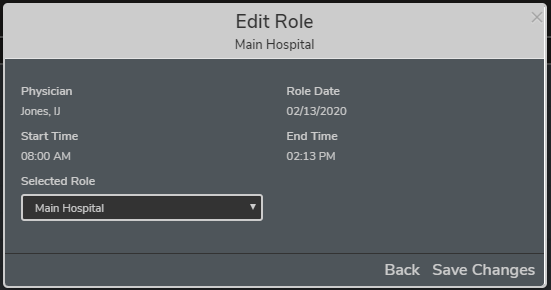
Under the maintenance menu, select Users. Find and select a user. In the Manage User pop up,
select “View Role History.” A pop up will appear with a list of roles worked by the selected user.
The roles can be edited by clicking on the edit pencil to the left of the role.
Selected reports can be chosen and run by clicking on the Actions drop down menu and selecting
Create Report. Pick the report that you wish to run and set the parameters
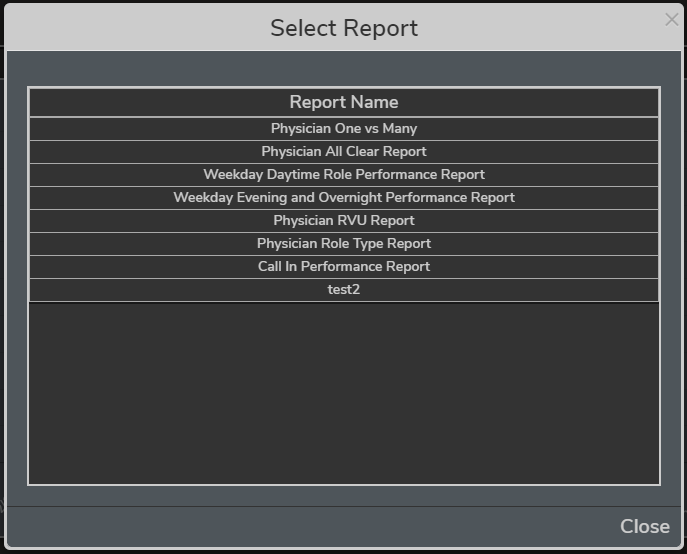
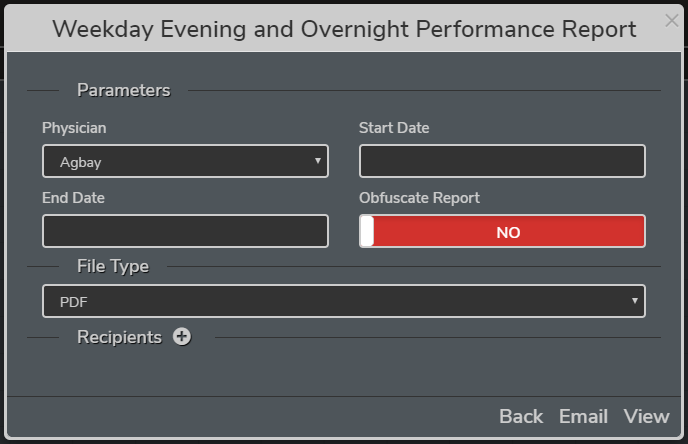
Click Generate E-mail when done and all designated recipients will receive a copy.
Return to top